

Spend hours meticulously painting your nails, only to watch that beautiful manicure chip two days later? It is an incredibly frustrating scenario. While photopolymerized coatings are universally celebrated for robust durability and high-gloss shine, achieving a flawless result requires exact precision. Minor mistakes in natural plate preparation, application physics, or curing protocols often cause major structural disasters.
This comprehensive guide serves as the ultimate troubleshooting manual for both professional technicians and serious DIY enthusiasts. You will learn expert, chemistry-backed tips to solve every common issue. We cover everything from compromised adhesion to improper curing solutions, ensuring your next set remains pristine for weeks.
Achieving a durable and aesthetically pleasing manicure requires a systematic approach. Before diving into specific chemical and mechanical failures, review these foundational principles:
Preparation is Non-Negotiable: Clinical observation shows that over 80% of adhesion failures stem from improper natural plate preparation. Inadequate lipid removal and poor cuticle care are the primary culprits.
Application Technique Matters: Applying remarkably thin, uniform layers is the scientifically proven method for preventing structural breakdown.
Curing is Critical: Understanding the irradiance and wattage of your UV/LED lamp is essential. Proper curing prevents both aesthetic failure and severe contact allergies.
Seal the Deal: Properly capping the free edge will drastically extend the mechanical lifespan of your manicure.
Product Quality Counts: Upgrading to professional-grade, acid-free, and hypoallergenic base coats can permanently resolve chronic lifting and dermatological sensitivity issues.
To troubleshoot persistent issues effectively, one must first understand the underlying chemistry. Modern gel systems do not dry through simple solvent evaporation. Instead, they undergo a complex chemical process called photopolymerization. The formula contains specific photoinitiators engineered to absorb specific wavelengths of ultraviolet light.
When exposed to a curing lamp, these compounds fragment into free radicals. This triggers a rapid chain reaction that causes liquid monomers and oligomers to cross-link into a hard, durable polymer network. Consequently, if any variable in this delicate environment is compromised, the entire polymerization process fails. Light penetration, surface adhesion, and chemical stability must all work in perfect harmony.
The natural nail plate is composed of tightly packed keratinized cells that naturally secrete sebum and retain moisture. While healthy for the body, these natural biological functions act as direct barriers to chemical adhesion. If the liquid polymer cannot form a microscopic bond with the keratin structure, it will inevitably detach.
A rigorous preparation protocol is absolutely required. First, the eponychium, which is the living tissue at the base of the nail, must be gently pushed back. This reveals the true cuticle, a dead, translucent tissue adhered tightly to the plate. This dead skin must be entirely removed using a sanitized pusher and sharp nippers. Next, gently remove the surface shine using a 180-grit or 220-grit buffer. The goal is not to aggressively thin the nail. Rather, you are creating a microscopic texture to provide mechanical adhesion sites for the base coat to grip. Finally, thoroughly wipe the surface with a lint-free pad saturated in pure isopropyl alcohol. This temporarily strips surface moisture and lipids, establishing an optimal pH environment.
Moving beyond physical preparation, chemical formulations themselves degrade over time. Using expired products or arbitrarily mixing incompatible brands leads to severe structural breakdown. Different manufacturers calibrate their photoinitiators to react at highly specific light intensities. They also formulate their base, color, and top coats to flex at similar rates. Specifically, merging a highly rigid top coat with an exceptionally flexible base coat creates internal shear stress, drastically reducing overall wear time.
Premature detachment is perhaps the most frequent complaint on the salon floor. You type furiously on your keyboard or scrub a pan, only to feel a dreaded snag on the edge. This occurs when the entire polymer layer pops off the bed or when the perimeter begins to lift within days of application. Experiencing Gel Polish Lifting and Peeling Edges is almost always a symptom of compromised adhesion rather than a defect in the color pigment itself.
Painting over the invisible cuticle layer guarantees immediate lifting. Because the cuticle is essentially dead skin, it contains high levels of moisture and naturally sheds. If your base coat is bonded to shedding skin rather than stable keratin, the enhancement will lift as the skin detaches. Ensure that no product touches the lateral nail folds, meaning the skin on the sides of the nail. Product pooled in the sidewalls creates a tiny lip that easily catches on hair or clothing.
The distal edge takes the highest amount of mechanical stress during daily activities. Failing to cap this free edge leaves the microscopic layers of the manicure exposed. Water and debris can easily infiltrate the space between the natural plate and the hardened polish, breaking the adhesive bond. To prevent this, lightly swipe your brush along the very tip during base, color, and top coat applications to effectively seal the perimeter.
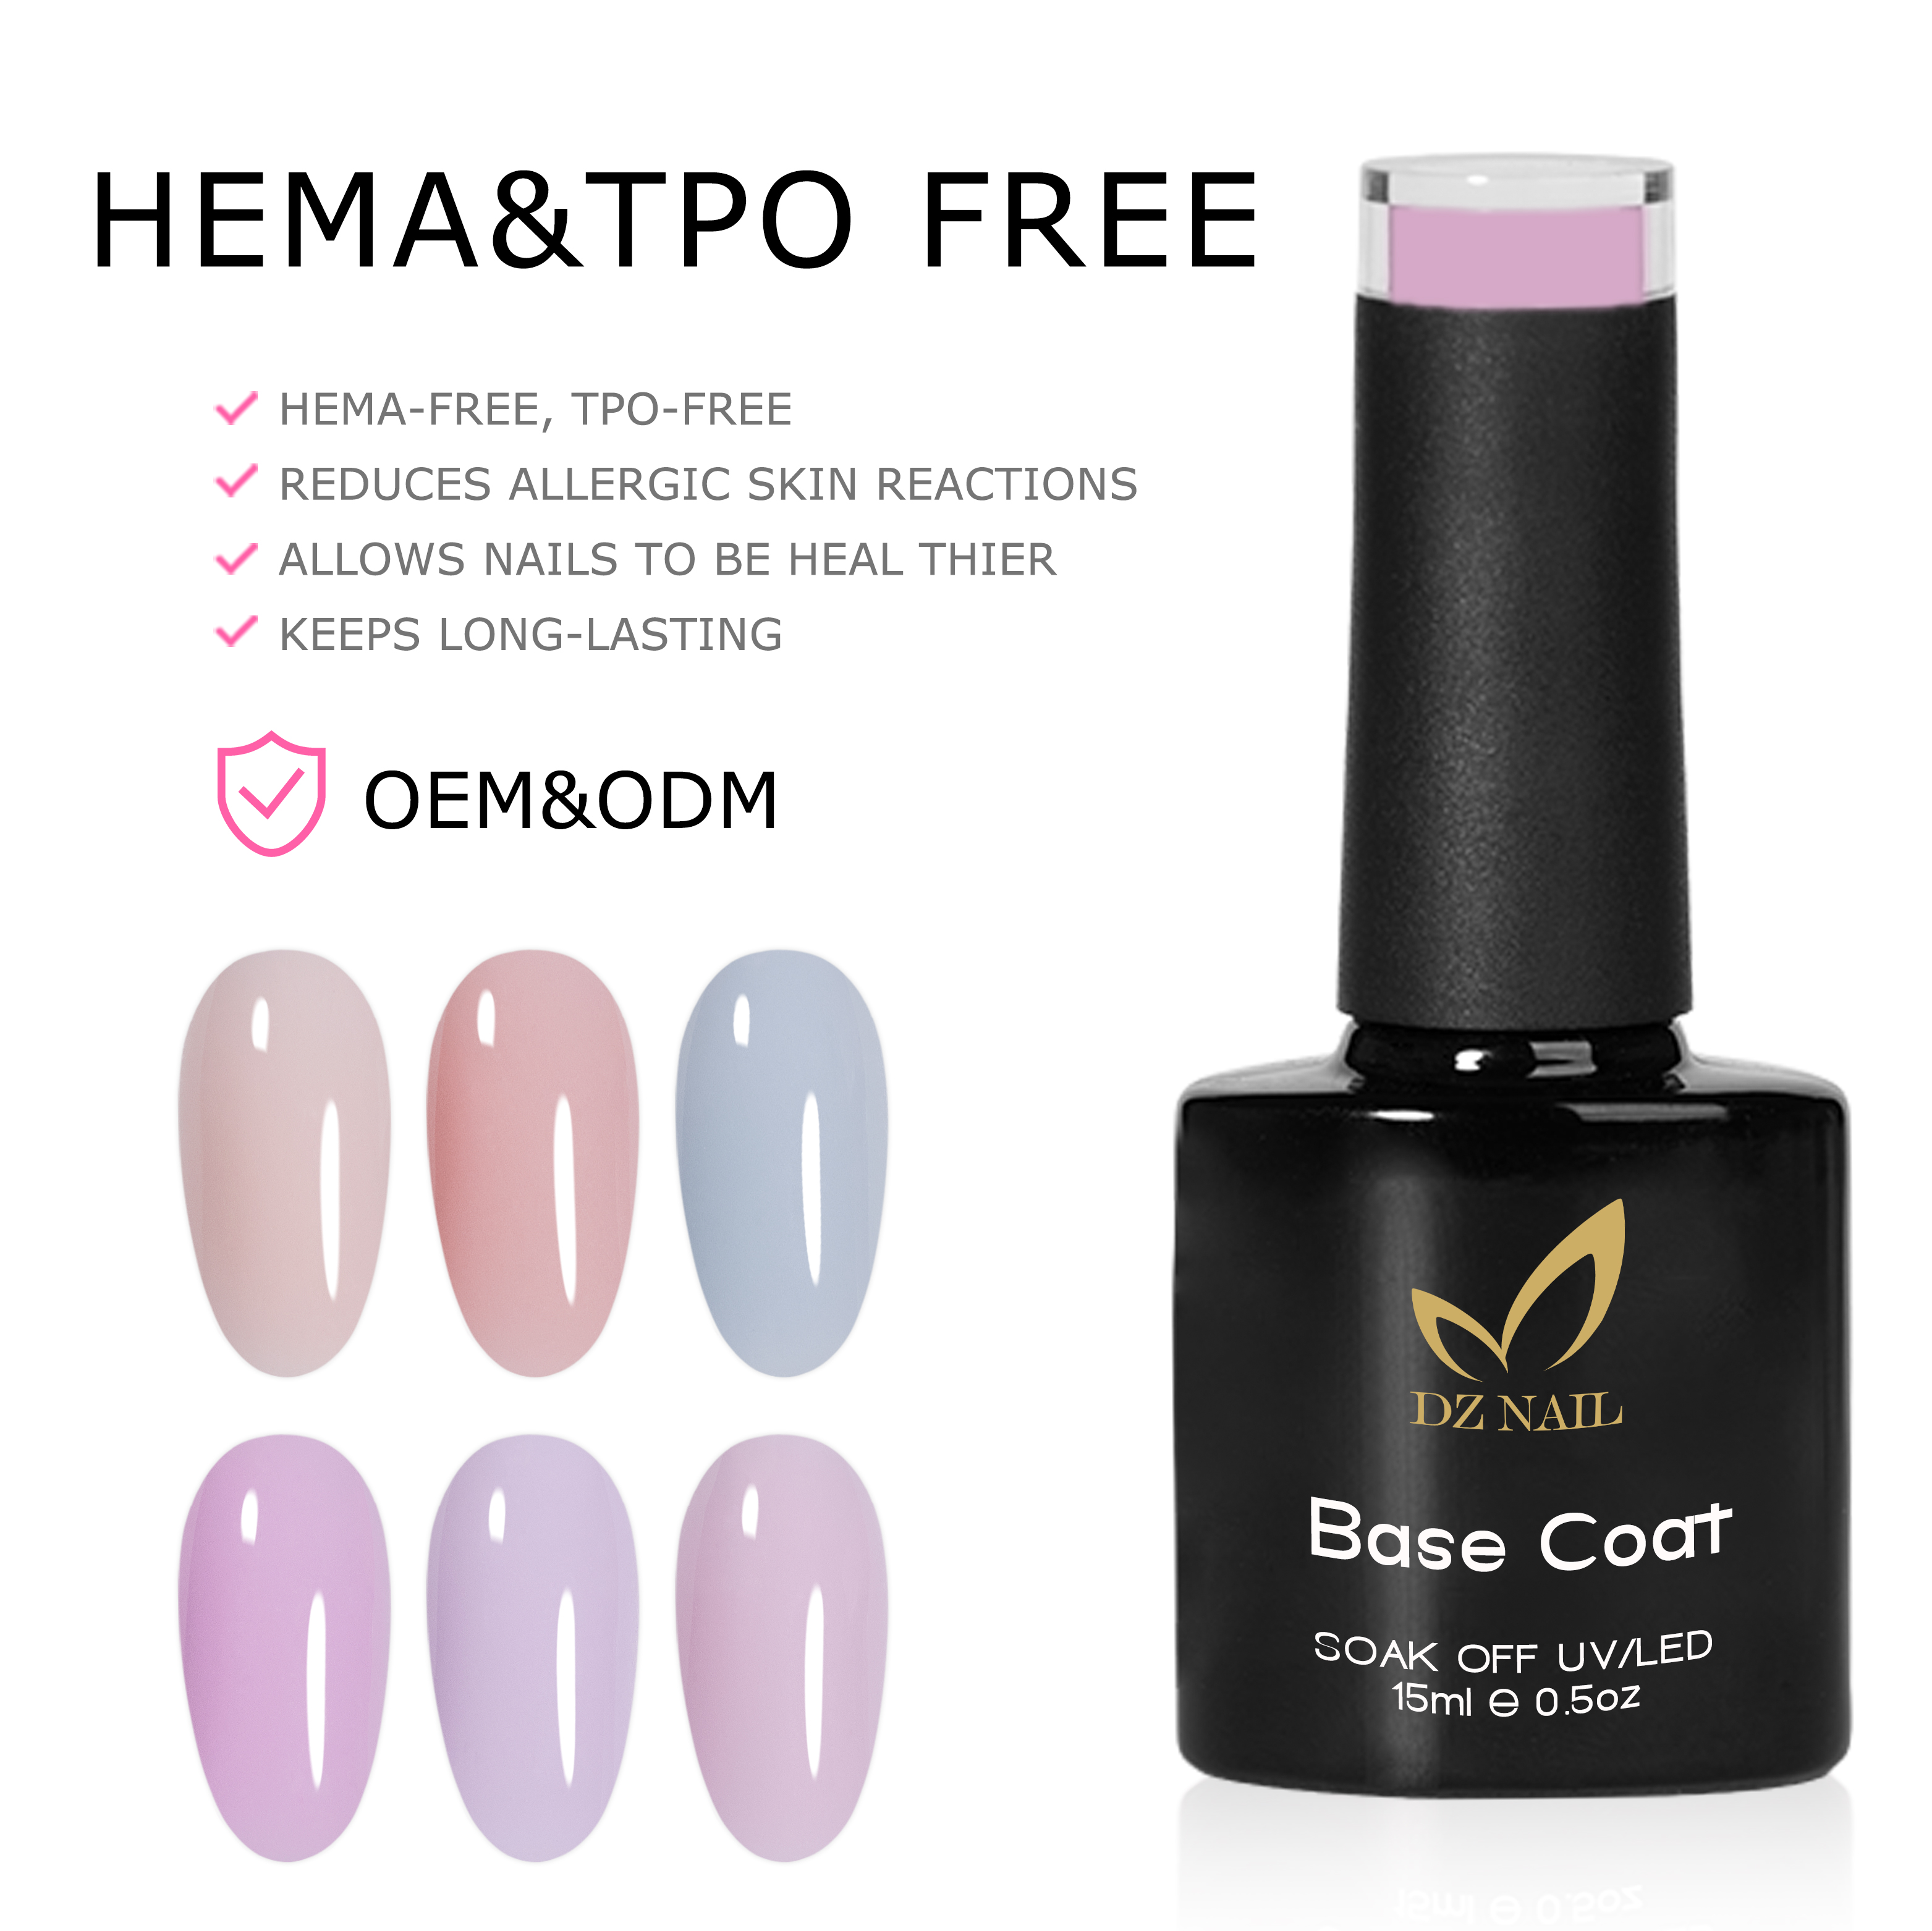
Traditional base coats are often highly rigid. In contrast, the natural plate is inherently flexible. When a bendable surface flexes under a stiff coating, the bond shatters. Introducing a high-quality, flexible base coat designed to move synchronously with the natural nail is a proven preventative measure. Modern rubber bases feature a thicker viscosity that perfectly fills in ridges. They create a fortified, shock-absorbing foundation. Upgrading to an acid-free formula that is both HEMA-free and TPO-free dramatically reduces the incidence of peeling without relying on harsh, dehydrating methacrylic acids.
Structural failures instantly ruin the smooth, glass-like aesthetic of a fresh manicure. Pulling your hand out of the lamp to see a puckered surface is incredibly disappointing. Addressing Gel Polish Wrinkling, Shrinking and Cracking requires strict adherence to application physics and proper handling of the liquid product.
Wrinkling occurs due to a disparity in the polymerization rate between the surface and the bottom of the applied layer. The primary culprit is applying layers that are too thick. Highly pigmented colors, especially opaque blacks and pure whites, contain dense pigment particles that physically block light from penetrating deeply. When a thick layer is cured, the light successfully hardens the top surface, causing it to shrink slightly. However, the bottom remains wet. As the hard top layer shifts over the liquid bottom, it buckles into a wrinkled texture. The objective fix is simple: adhere strictly to the paper-thin layers rule.
Shrinking manifests as the color pulling away from the cuticle line or the free edge before it has even been cured. This phenomenon is typically caused by surface tension issues. If microscopic amounts of excess oil remain on the plate, the liquid will naturally repel away from it in a hydrophobic reaction. Furthermore, leaving wet polish on the nail for too long before curing allows its self-leveling properties to cause pooling in the center. Ensure absolute dehydration and employ a flash curing technique to lock the placement before completing a full cure.
Cracking indicates that the structural stress placed on the enhancement exceeds the tensile strength of the coating. This is incredibly common when brittle top coats are paired with weak, thin natural nails that bend easily under pressure. Over-filing during prep also destroys structural integrity. To prevent fracturing, you must build a proper structure, known as an apex, to distribute mechanical stress evenly. Utilizing builder gels or rubber bases adds necessary thickness and flexibility to absorb daily impacts.
Uncured product is not merely an aesthetic inconvenience; it is a documented health hazard. Prolonged dermal exposure to unpolymerized acrylates and methacrylates can lead to severe allergic contact dermatitis, resulting in lifelong sensitivities. Therefore, mitigating Gel Polish Under-Curing and Curing Performance failures is fundamentally a matter of personal safety.
Identifying an under-cured manicure early is crucial for your health. Symptoms include a texture that feels squishy to the touch, a finish that dulls almost immediately, or color pigment that wipes off onto your lint-free pad when applying the top coat. In severe instances, clients may experience itching, redness, or blistering around the proximal nail fold.
Not all curing lamps are created equal. Equipment degradation is a silent killer of manicures. The photopolymerization process requires specific wavelengths, typically 365nm and 405nm, delivered at a sufficient irradiance. While wattage measures power consumption rather than true light output, a lamp rated at 48W or higher generally possesses enough diodes to ensure adequate light distribution. LED bulbs degrade over time. If a lamp is used heavily, its curing efficacy drops significantly after 12 to 18 months. Regular equipment audits are necessary.
Light operates strictly on line-of-sight principles. If the rays cannot physically hit the resin, it simply will not cure. Poor hand placement is a leading cause of under-curing. If fingers are tilted downward, the light hits the knuckles rather than the plate. Thumb placement is particularly problematic because thumbs naturally rest at an angle. Instruct users to keep their fingers flat and spread apart, and highly recommend curing thumbs separately.
A flawless manicure should reflect light perfectly, resembling a smooth sheet of glass. Annoying tiny bubbles that appear during application or emerge mysteriously after curing disrupt this coveted texture. Fortunately, these blemishes are almost entirely preventable through mindful handling of the liquid product.
Gel formulations possess thixotropic properties, meaning their viscosity changes when agitated. Vigorously shaking a bottle introduces microscopic air pockets into the thick resin. Because the liquid is highly viscous, these trapped air bubbles cannot easily rise to the surface and escape. When subjected to the heat of the lamp, the trapped air expands, resulting in visible bumps. Instead of shaking, gently roll the bottle between your palms for 30 seconds. Ambient body heat slightly thins the liquid, thoroughly mixing settled pigments without incorporating destructive air.
Your physical application technique directly influences the final texture. Pumping the brush rapidly in and out of the bottle forces air down into the liquid. Similarly, applying the polish with heavy, rapid strokes traps air against the plate. The recommended technique involves slow, floating brush strokes. Keep the brush parallel to the nail, utilizing a shallow 45-degree angle, and allow the soft bristles to glide effortlessly over the surface.
The top coat serves as the essential armor for any manicure. While base coats are engineered for adhesion and color coats provide aesthetic pigment, the top coat is uniquely formulated to seal the polymer matrix. Selecting an incompatible or low-quality sealer is a frequent catalyst for premature yellowing, micro-scratches, or complete delamination. Utilizing a premium Top Coat for Long-Lasting Gel Polish Finish is the ultimate defense against daily wear and tear.
Understanding the chemical distinction between wipe and no-wipe formulations is vital for optimizing longevity. Traditional wipe top coats cure with an oxygen inhibition layer. Ambient oxygen interferes with the reaction at the very surface, leaving a microscopic, tacky layer of uncured oligomers that must be manually removed using isopropyl alcohol. These traditional formulas tend to be slightly more porous and flexible. Conversely, no-wipe top coats are synthesized with advanced photoinitiators that bypass this oxygen interference. They cure to a completely solid, tack-free finish immediately and are highly rigid.
Even a premium finish can be ruined immediately after curing if not handled correctly. When the coating cures, it undergoes an exothermic chemical reaction. When the nails exit the lamp, the polymer network is still warm and slightly malleable. Applying cuticle oil, washing your hands, or aggressively wiping the nails immediately can cause micro-scratches and permanently dull the high-gloss shine. Always provide a strict 60-second cool-down period after the final cure.
Even with meticulous preparation and optimal curing protocols, some individuals continue to experience chronic failures. When technique has been thoroughly audited and ruled out, the root cause invariably lies in the chemical composition of the products being utilized. Observing recent industry trends, there is a massive shift in the professional nail sector toward chemical transparency and prioritizing hypoallergenic formulations. Consumers and technicians alike are recognizing that upgrading to advanced, health-conscious products is a critical step in preserving natural nail integrity.
In recent years, the cosmetic industry has documented a significant rise in allergic contact dermatitis associated with nail enhancements. The primary sensitizers identified in these reactions are HEMA, known as Hydroxyethyl Methacrylate, and TPO, or Trimethylbenzoyl Diphenylphosphine Oxide. HEMA is a highly effective monomer historically used to promote aggressive adhesion. However, its microscopic molecular weight allows uncured molecules to easily penetrate the epidermis. Modern polymer science has enabled the development of hypoallergenic alternatives that utilize larger oligomers physically too large to penetrate the skin barrier. Transitioning to HEMA-free and TPO-free systems provides a substantially safer foundation without sacrificing durability.
To help you navigate the transition to higher-quality formulations, reference this core comparison guide when evaluating your next purchase:
Product Type | Best For | Key Ingredients to Avoid | Core Benefit |
|---|---|---|---|
Acid-Free Rubber Base Coat | Weak, brittle, or peeling natural nails | Methacrylic Acid, HEMA, TPO | High flexibility, shock absorption, extreme adhesion |
No-Wipe Top Coat | Applying chrome powders, sealing nail art | Harsh solvents, cheap photoinitiators | Scratch resistance, zero sticky residue, high gloss |
Highly Pigmented Color Gel | Single-coat coverage, precise line work | TPO, heavy metals | Rich color saturation, excellent self-leveling properties |
This is a standard chemical phenomenon known as the oxygen inhibition layer. When the product polymerizes under a light, the oxygen present in the air reacts with the very top surface, halting the curing process at a microscopic level. This leaves a tacky, uncured residue on the exterior, even though the layers underneath are entirely solid. Unless you are utilizing a specifically formulated no-wipe top coat, this sticky layer must be removed by firmly wiping the nail with a lint-free pad saturated in 70% or higher isopropyl alcohol.
A scientifically formulated and correctly applied manicure should maintain its structural integrity for 14 to 21 days. During this timeframe, you should not experience any chipping, peeling, or significant loss of surface gloss. However, wear time is heavily influenced by biological and environmental variables. Occupational hazards such as frequent typing, prolonged exposure to water, or handling harsh household solvents will naturally accelerate the degradation of the polymer matrix.
While mixing brands is a common DIY practice, it is fundamentally discouraged from a chemical engineering standpoint. Manufacturers formulate their base coats, colors, and top coats as a synergistic, cohesive system. The inhibition layer of a specific base coat is chemically calibrated to bond optimally with its corresponding color coat. Mixing incompatible chemical systems is a primary cause of under-curing and rapid delamination.
Repairing a minor chip without executing a full, time-consuming soak-off is entirely possible using a precise patch method. First, cleanse the chipped area thoroughly with isopropyl alcohol. Second, use a gentle 220-grit file to carefully buff the sharp edges of the chip, creating a smooth transition. Third, apply a microscopic amount of base coat strictly to the exposed natural nail and cure. Fourth, apply your color coat over the patched area, blending it slightly, and cure. Finally, seal the entire nail with a fresh layer of top coat.
The chemical formulation of these products does not possess the inherent ability to damage or degrade natural keratin. The overwhelming majority of nail damage associated with manicures is entirely mechanical, resulting directly from improper removal techniques. Forcibly peeling, picking, or biting off the hardened polish physically tears away the dorsal layers of the nail plate. When applied respectfully and removed patiently via proper acetone soak-off methods, these enhancements are completely safe for continuous wear.
When an enhancement pops off entirely intact, it indicates a complete failure of the base adhesive bond. This is most commonly caused by improper prep work, such as leaving invisible cuticle tissue on the nail plate or failing to thoroughly dehydrate natural surface oils. It can also occur if you are using a rigid base coat on a highly flexible, thin natural nail. Upgrading to a rubber base coat often resolves this issue.
Safe removal requires patience and the right materials. Start by gently filing the shiny top coat layer to break the protective seal. Next, saturate a cotton ball in 100% pure acetone, place it directly on the nail, and wrap the finger tightly in aluminum foil. Allow it to soak for 15 to 20 minutes. The acetone will break down the polymer matrix, causing the gel to crumble and lift. Finally, use a wooden cuticle pusher to gently glide the dissolved product off the nail plate without scraping the natural keratin.
Achieving a flawless, long-lasting manicure is an art form heavily reliant on scientific principles and careful preparation. By mastering the fundamentals, such as thorough cuticle removal, ensuring complete dehydration, and applying remarkably thin layers, you can easily prevent common frustrations like wrinkling and premature chipping. Equally important is protecting your health and your aesthetic results by strictly adhering to proper curing times with a reliable LED lamp.
Troubleshooting these common issues takes a little patience, but the flawless results are well worth the effort. Are you ready to elevate your nail game and eliminate lifting, chipping, and curing issues for good? Stop struggling with incompatible or outdated chemical formulas. Visit dznailgel.com to explore our full range of professional-grade, HEMA-free, and TPO-free nail enhancement systems. From ultra-flexible rubber base coats to diamond-shine top coats, equip yourself with the premium products engineered for pristine, long-lasting results.


